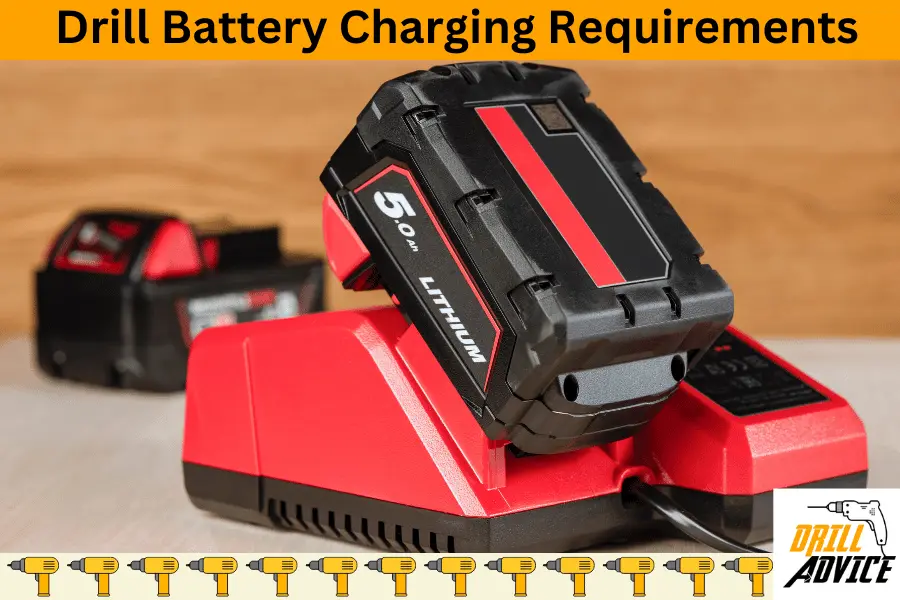
In order to charge the drill battery properly, it should have recommended charging requirements. The recommended charging requirement of a Li-Ion drill battery is 4.3V/cell voltage, 0.3A-3.0A /Cell current, charge range between 10%-90%, charging temperature of 20°C to 25°C, and relative humidity of 50%.
You can indicate the drill battery charging by its bright indicators as well as touch by hands its temperature. You can see a solid or flashing green while charging the battery. A red light can be lit after it the fully charging, and a flashing red light will indicate the issue in the charging process.
If you do not see any indication, your drill battery may not charge properly. A drill battery cannot be charged properly due to the battery pack is not installed properly, the charger is not plugged in properly, charging under too much heat or cooling, the battery tending fully die, bad environmental conditions, short circuits, and due to damaged battery.
In order to charge the drill battery properly, you should follow the manufacturer’s guidance; first, you should connect the charger, insert the disconnected battery into the charger, wait for the battery to fully charge, and disconnect the battery after charging. In order to not charge the drill battery, you should avoid overcharging, store the battery in a cool and dry place, regularly check the terminals for maintenance, and replace the damaged or malfunctions batteries immediately to bettery charging performance of the battery. When you do not follow the correct guidelines, drill battery may discharge quickly.
What are the Drill Battery Charging Requirements?
The drill battery charging requirements are recommended voltage and current, correct type charger, charge between 10%-90%, charge under proper temperature, avoid overheating, use drill battery manufacture recommended chrager, and store the drill battery properly untill it is charging.
Drill battery charging requirments and recommended values
- Recommended drill battery charging voltage – 4.3/Cell
- Recommended drill battery charging current – 0.3A-3.0A /Cell
- Charging range – 10%-90%
- Charging temperature – 20°C to 25°C
- Drill battery storing conditons – Store in 50% relative humudity, 20°C to 25°C room temperature.
How to Indicate Whether Drill Battery is Charging?
You should identify whether your drill battery is properly charging after you plug to the battery charger. Drill battery charging can be indicated by indicators in the charger as well as touching the battery temperature.
You can clearly identify the drill battery charging by keeping an eye on the indicator lights on the charger. Although the specific light configuration can vary depending on the manufacturer, typically, there will be one of the following light patterns:
- A solid or flashing green light usually means the battery is charging.
- A steady red light often indicates the battery is fully charged.
- A flashing red light can indicate there is an issue. This could mean that the battery is too hot to charge, that the power source isn’t high enough, or that there’s an issue with the battery itself.
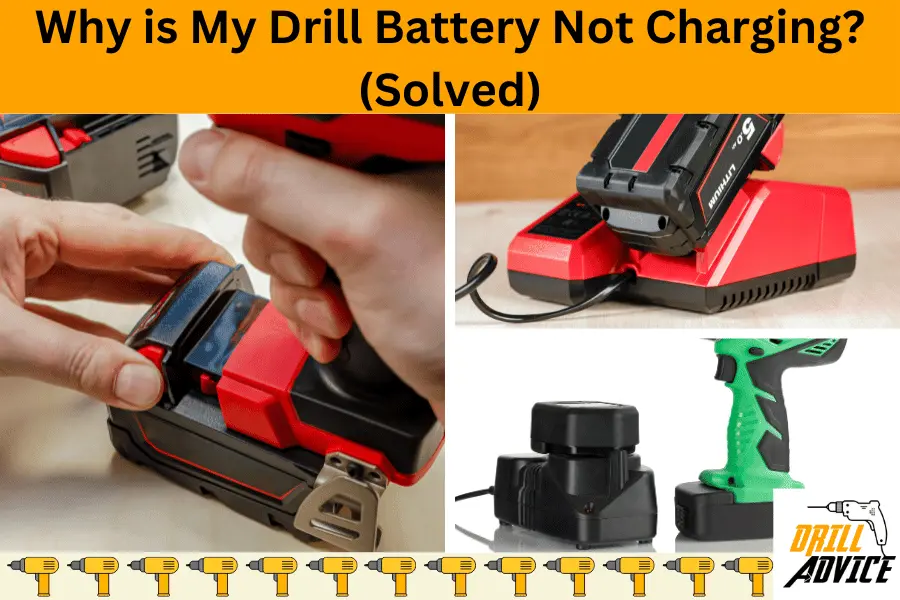
What are the 7 Reasons and Solutions for Not Charging the Drill Battery Properly?
There are 7 reasons for not charging the drill battery properly. When a drill battery is not charging, it causes many drill battery problems. These reasons should be minimized in order to prevent the drill battery problems.
1. The Battery Pack Does not Insert Properly
When we keep the battery on the charger, we can make sure that it is properly mounted with the charger by indicating the color bulbs. If you can’t see this kind of behavior, there might be a problem. How much time do you have to stay? For the charging under this situation.
Solutions
Check the battery pins to see whether they are damaged or if external material has clogged in between pins. If the pins are damaged or blocked, they can’t be mounted to the charger properly. Hence, before the mount, you should check the battery and charge properly.
2. Charger Not Plugged In
When you mount the battery pack and charger, you can see a light that detects the insertion of the battery. So, if this is not detected, there is a problem with plugging into the current.
Solutions
- Properly plug into the power supply with the required voltage and a suitable power cord. Sometimes, you need an external power cord. So before use, an external power cord makes sure it is enough.
- Check if the power cord is damaged or burnt for any reason. Check the current at the receptacle by
plugging in a lamp or other appliance.
Check if the receptacle is connected to a light switch that turns the power off when you turn out the lights.
3. Charge Under Too Much Cool or Heat
When the outside temperature is too cool or higher, a battery will not work properly due to hot and clod delays in the battery. This can happen due to battery chemistry. You should bring the drill battery to room temperature If you need to charge a high-heat or cold battery.
Solutions
- Keep the battery pack charging temperature between 65°F and 75°F (18°- 24°C), which is recommended for the Li-Ion batteries.
- DO NOT charge the battery pack in an air temperature below +40°F (+4.5°C), or above +105°F (+40.5°C). This is important and will prevent serious damages to and battery pack and its long life span.
4. The Battery is Fully Dead
A dead battery is a battery that is no longer capable of generating power or holding a charge due to various reasons, such as over-discharge, old age, or damage. A dead battery Is not able to charge using a regular charger. In order to start the battery chemistry inside we should jumpstart it.
Solutions
Take the same power, and same brand battery, and connect similar terminals together with a conduction wire. After that, you should keep it for about 5 mins by connecting.
So the dead battery can be powered up with the other one. Then, you can plug into the charger.
You can restore your dead battery after following these simple steps.
- Place both the dead battery and live next to each other.
- Get any metal conductor to connect each other easily. scissors or wire
- Then, connect the positive-positive terminals and negative-negative terminals of both batteries.
- This connection will short the dead battery. It will slowly start to charge and wait 5-10 mins by connecting both.
- After several minutes, you can see the dead battery has charged a bit, and then start charging using the charger. The live battery has boosted the dead battery after connecting them.
5. Bad Environmental Conditions
The drill battery will not charge properly due to bad environmental conditions such as higher relative humidity, higher temperature, moisture, snow, and flames. The humidity and moisture can short the circuit. Higher temperatures and flames can degrade the battery while snow can stop the battery chemistry inside.
Solutions
Use a flameless, reliable temperature and covered area that has the recommended temperature. Also, avoid the Vented gases also may explode the battery pack.
6. Short Circuit
Metal ducts and small parts can be entered into the charge or inside the battery, which we do not expect. Because of this electrical conductivity, it can short the inside circuit. It is a terrible problem. Sometimes those particles can be clogged between pins.
Solutions
Clean the charger before use. Make sure that it is not used with metal dust or parts. If you have used it, use a vacuum to remove the particle. You can use a small magnet for that also.
7. Damaged Batteries
A drill battery cannot be charged due to physical damage to the battery. A drill battery can be physically damaged by dropping, accidents, improper storage, exposure to extreme temperatures, or other physical harm. Due to these damages drill battery casing can be cracked or broken, inside chemicals can be leaked, or the battery can be punctured or swollen.
Solutions
In order to prevent this, you should check the battery for physical damage before charging. If there is any physical damage, you should not charge it, instead of you should check it by using an expert.
How to Charge a Drill Battery Properly?
You can charge a drill battery successfully in these 10 steps.
- Read the manufacturer’s manual for specific instructions.
- Connect the charger to a power outlet.
- Insert the disconnected battery into the charger, aligning the slots correctly.
- Wait for the battery to fully charge (indicated by charger’s light). Avoid overcharging.
- Disconnect the battery once it’s fully charged.
- Avoid charging in extremely hot or cold conditions to prevent overheating.
- Store the battery with a partial charge in a cool, dry place if not using it for a while.
- Regularly check the contacts of your battery and charger for maintenance.
- Replace any damaged or malfunctioning batteries or chargers immediately.
Why is my Drill Battery Discharge Quickly?
You battery can be discharged quickly due to these 8 reasons. A fully completed dead drill battery can be recovered by the drill battery reviving.
- Poor battery quality
- Overheating during charge
- Overcharging
- Frequent deep discharges
- Old battery
- Exposing the battery to extreme temperatures
- Long periods of inactivity
- Damage to battery or charger